Build a sample mobile app to evaluate the Connect SDK
Before you start integrating the Connect SDK into your mobile app, we recommend installing our sample app with the SDK.
Requirements
- Acoustic Connect. To view captured sessions and playback from the sample app, you need an active Connect subscription of the Premium or Ultimate level.
- Development environment. To build and run the sample app, you need Android Studio.
- Mobile app compatibility. You can run the sample app on simulators and real devices. Android 5.0 (API level 21) or later is required. The latest version we have tested is Android 14 (API level 34).
- Acoustic Connect. To view captured sessions and playback from the sample app, you need an active Connect subscription of the Premium or Ultimate level.
- Development environment. To build and run the sample app, you need a recent version of Android Studio with AGP 7.3 or higher. The minumum required Gradle version is 7.4.
- Mobile app compatibility. You can run the sample app on simulators and real devices. Android 7.0 (API level 24) or later is required. We recommend Android 14 (API level 34).
- Acoustic Connect. To view captured sessions and playback from the sample app, you need an active Connect subscription of the Premium or Ultimate level.
- Development environment. To build and run the sample app, you need Xcode 15 with Command Line Tools and a recent CocoaPods version.
- Mobile app compatibility. You can run the sample app on simulators and real devices. iOS 14 or later is required.
- Acoustic Connect. To view captured sessions and playback from the sample app, you need an active Connect subscription of the Premium or Ultimate level.
- Development environment. To build and run the sample app, you need a standard Flutter environment. We recommend using Flutter 3.16.0 with Gradle 7.5.1.
- Mobile app compatibility. You can run the sample app on simulators and real devices. Supported operating systems: iOS 13 and later, Android 5.0 (API level 21) and later.
- Acoustic Connect. To view captured sessions and playback from the sample app, you need an active Connect subscription of the Premium or Ultimate level.
- Development environment. To build and run the sample app, you need a properly configured React Native environment with Node.js 16-18, Yarn Classic line (1.x) and CocoaPods.
- Mobile app compatibility. You can run the sample app on simulators and real devices. Supported operating systems: iOS 13 and later, Android 13.0 (API level 33) and later.
Before you begin
During the setup, you will need to register the library with your Connect credentials. You can generate them yourself through the Connect application.
- Log in to Acoustic Connect as an administrator.
- In the menu bar, click on your user profile and select Admin.
- On the Admin page, open the Applications tab.
- If a new app is required, click to add an app and fill out required settings.
- Click the SDK link for your app. Copy your application key and endpoint URL. Keep these credentials handy for the setup.
Setup instructions
- Clone the sample app code from our GitHub repository.
git clone https://github.com/go-acoustic/SampleCode_Connect_Android_Kotlin_KitchenSink.git
- Open the project in Android Studio.
- In LoginActivity.kt, find
Connect.enable
.
- Replace the default values with your application key and endpoint URL. In the current example,
fa47722a7fef4bcd8677fd8d6d113a0d
is the application key andhttps://lib-us-2.brilliantcollector.com/collector/collectorPost
is the endpoint URL.
// Enable Connect SDK
Connect.enable(
"fa47722a7fef4bcd8677fd8d6d113a0d",
"https://lib-us-2.brilliantcollector.com/collector/collectorPost"
)
- Clone the sample app code from our GitHub repository.
git clone https://github.com/go-acoustic/SampleCode_Android_Sunflower_ComposeUI.git
- Open
SampleCode_Android_Sunflower_ComposeUI-main/sunflower
with Android Studio. - Synchronize the project.
- In SunflowerApp.kt, find ConnectWrapper and replace the default application key and endpoint URL with the credentials assigned to your Connect subscription.
- Clone the sample app code from GitHub.
git clone https://github.com/go-acoustic/SampleCode_Connect_iOS_SwiftUI.git
- (optional) In the root project directory, find a Podfile and open it in a text editor. Note that
use_frameworks
is uncommented. If you don't want to use the debug version, change thepod
value fromAcousticConnectDebug
toAcousticConnect
. Never use the release and the debug version in the same Podfile.
source 'https://github.com/CocoaPods/Specs.git'
platform :ios, '14.0'
workspace 'SwiftUIMindBlowing'
target 'SwiftUIMindBlowing' do
use_frameworks!
pod 'AcousticConnectDebug'
end
- In a terminal emulator, navigate to the root project directory and install the pods. Make sure the command is completed with no errors. If you get an error, run the same command with the
--verbose
option and share the error log with our services team.
cd SampleCode_Connect_iOS_SwiftUI
pod install
Note
Sometimes CocoaPods fails to load the latest version. So you may need to pull it using
pod update
.
- Open the SwiftUIMindBlowing.xcworkspace file (not SwiftUIMindBlowing.xcodeproj).
- Clone the sample app code from our GitHub repository.
git clone https://github.com/go-acoustic/Connect-Flutter.git
- Update the project using the pub package manager.
cd Connect-Flutter
flutter clean && flutter pub get
cd Connect-Flutter/example/gallery
flutter clean && flutter pub get
- Navigate to the iOS project directory, delete podfile.lock and then update Pods.
cd Connect-Flutter/example/gallery/ios
rm podfile.lock
pod update
Note
If you get an error after updating the Pods, try repeating the
pod update
command or runningpod install
.
- Open the primary configuration file:
Connect-Flutter/example/gallery/ConnectConfig.json
. Update 2 keys in it using your Connect credentials:AppKey
andPostMessageUrl
.
- Clone the sample app code from our GitHub repository.
git clone https://github.com/go-acoustic/react-native-acoustic-connect.git
- In your terminal, navigate to the root project directory.
cd react-native-acoustic-connect/Example/nativebase-v3-kitchensink
- If you have Yarn Modern line (2.x-4.x) on your machine, run the following command to install Yarn Classic line (1.x) to the project.
yarn set version classic
- Run the
yarn
command to install the Connect packages. - Navigate to the
ios
project directory and install dependencies.
cd ios
pod update
- Under
react-native-acoustic-connect/Example/nativebase-v3-kitchensink/
, open the primary configuration file (ConnectConfig.json). Update theAppKey
andPostMessageUrl
values with the application key and endpoint URL assigned to your Acoustic Connect organization.
Running the app
Build and run the app in Android Studio.
Use the SwiftUIMindBlowing target to build and run the app.
Start a target device (iOS or Android). Change to the project directory and run the sample app from there.
cd Connect-Flutter/example/gallery
flutter run
If using an IDE, keep the following in mind:
- To open the iOS version with Xcode, use the
Connect-Flutter/example/gallery/iOS/Runner.xcworkspace
file (notConnect-Flutter/example/gallery/ios/Runner.xcodeproj
). - For the Android version, open the following directory in Android Studio:
Connect-Flutter/example/gallery
.
- Run an Android emulator.
- In your terminal, navigate to the root project directory
react-native-acoustic-connect/Example/nativebase-v3-kitchensink
and run the following script from there.
yarn android
Option A: using the command line
- (optional) Run an iOS simulator.
Note
If you skip this step, the app will run on the first available simulator.
- In your terminal, navigate to the root project directory
react-native-acoustic-connect/Example/nativebase-v3-kitchensink
and run the following script from there.
yarn ios
Option B: using Xcode
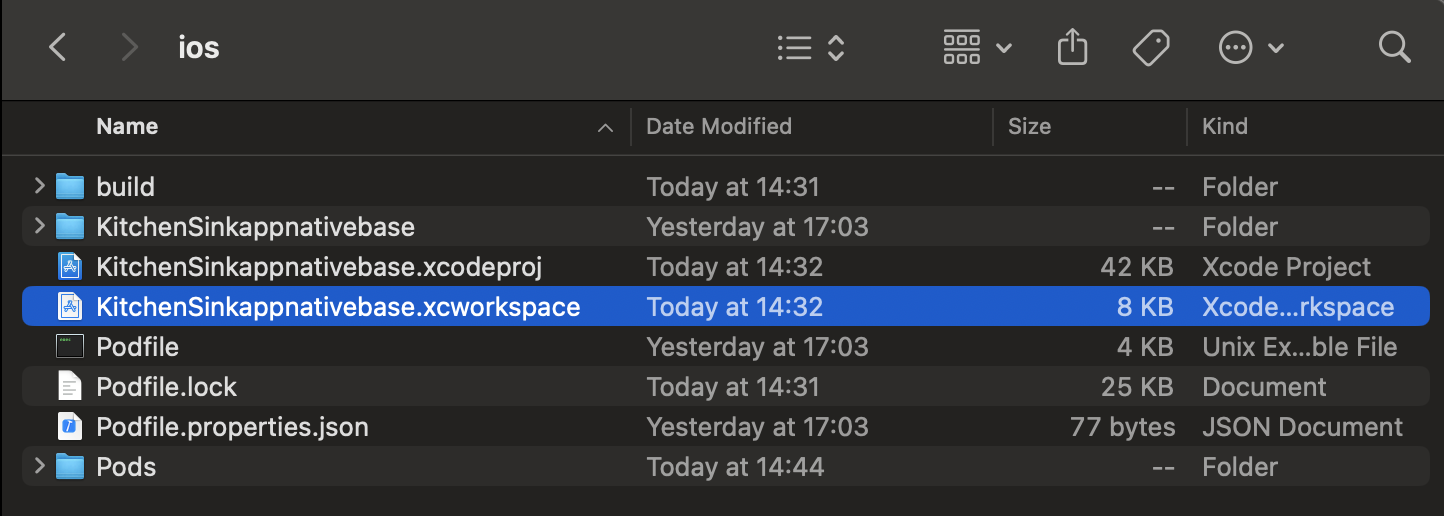
- Navigate to
react-native-acoustic-connect-beta-develop/Example/nativebase-v3-kitchensink/ios/
and open the KitchenSinkappnativebase.xcworkspace file.
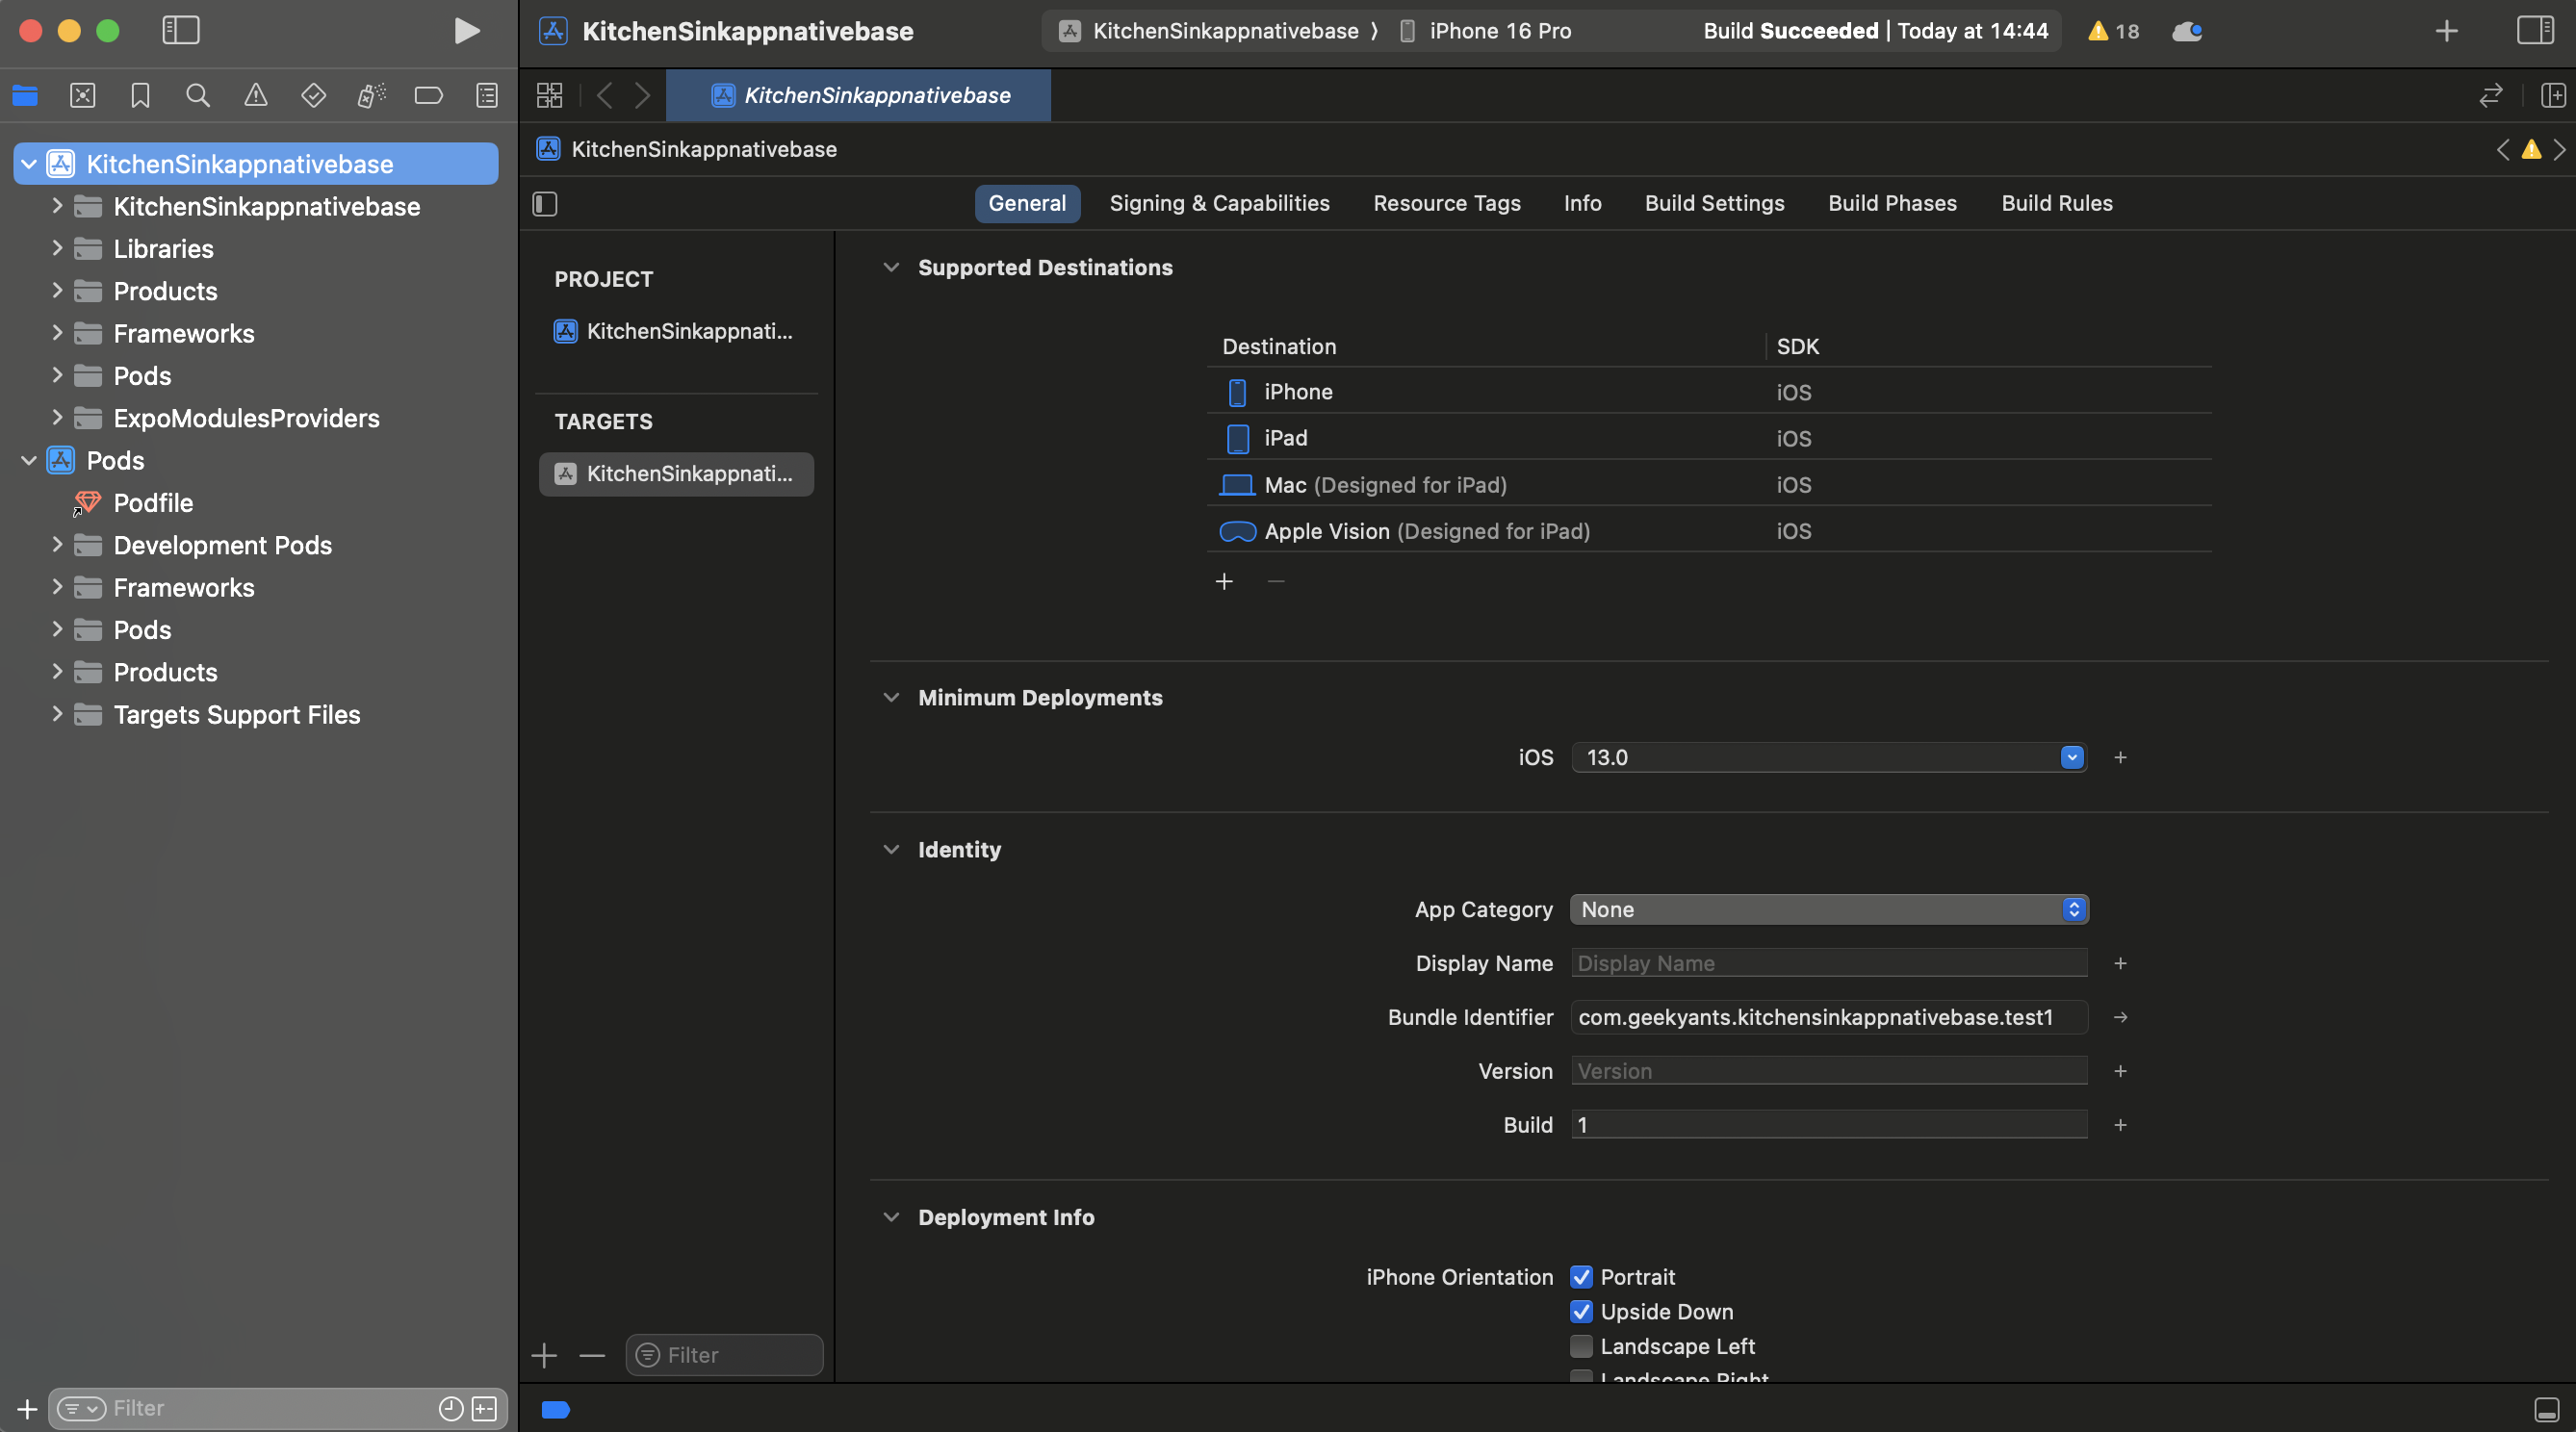
- Run the app on a simulator or a real device.
Exercise
Now you can check how user behavior data is captured.
- Click around in the sample app.
- In your Connect account, go to Optimise > Session search.
- Find the session and play it back.
Notes:
- If a user is inactive for 30 minutes, their session times out.
- To learn more about the Sessions module, see Session replay in our marketing guide.
Updated 4 days ago