
Integrate the Tealeaf SDK into your Android app
Use the Tealeaf Android SDK to instrument your native Android applications for logging and analysis.
Requirements
- Acoustic Tealeaf. To use the library, your company must have an active Tealeaf subscription.
- Development environment. To integrate the library into a native Android app, you need Android Studio.
- Mobile app compatibility. The library can capture user experience data on end users' devices running Android 5.0 (API level 21) or later. The latest version we have tested is Android 14 (API level 34).
Before you begin
Open the AndroidManifest.xml file in your project and add the following permissions to be able to register the Tealeaf SDK files. See an example from our sample app.
<uses-permission android:name="android.permission.INTERNET"/>
<uses-permission android:name="android.permission.ACCESS_NETWORK_STATE"/>
<uses-permission android:name="android.permission.ACCESS_WIFI_STATE"/>
<!--To enable geo location data, add these permissions-->
<uses-permission android:name="android.permission.ACCESS_FINE_LOCATION"/>
<uses-permission android:name="android.permission.ACCESS_COARSE_LOCATION" />
Instructions
- In the app-level build.gradle file, edit the
dependenciessection to support the Tealeaf library. Note that the plus sign in our example stands for the latest version of the library. You can enter a version number instead.
dependencies {
  implementation("io.github.go-acoustic:tealeaf:+")
}
- Synchronize the project.
- To initialize the library, add the following snippet to the Activity class. Replace
app_keyandendpoint_urlwith your Connect credentials.
new Tealeaf(application);

Tealeaf.enable(
    "app_key",
    "endpoint_url"
)
- Add the Gesture hook to Base Activity.
override fun dispatchTouchEvent(e: MotionEvent?): Boolean {
    Tealeaf.dispatchTouchEvent(this, e)
    return super.dispatchTouchEvent(e)
}
- Download the integration archive from our Github repository.
- From the
/EOCoredirectory, copy eoCore.jar and paste it to thelibsdirectory in your project. - From the
/TealeafMod/AARdirectory, copy tealeafmod.aar and paste it to thelibsdirectory in your project. - Add eoCore.jar and tealeafmod.aar to the build path of your app.
- Download the
assetsfolder from our sample app and add it to the same location in your project. - In the
assetsfolder you have just added, open the TealeafBasicConfig.properties file. Enter your application key (AppKey) and endpoint URL (PostMessageUrl). - Update the
dependenciessection in your app-level build.gradle file. Use the version numbers from the integration archive.
dependencies {
  implementation 'com.ea:eocore:2.0.343'
  implementation 'com.ea:tealeaf:10.4.6'
}
Test the integration
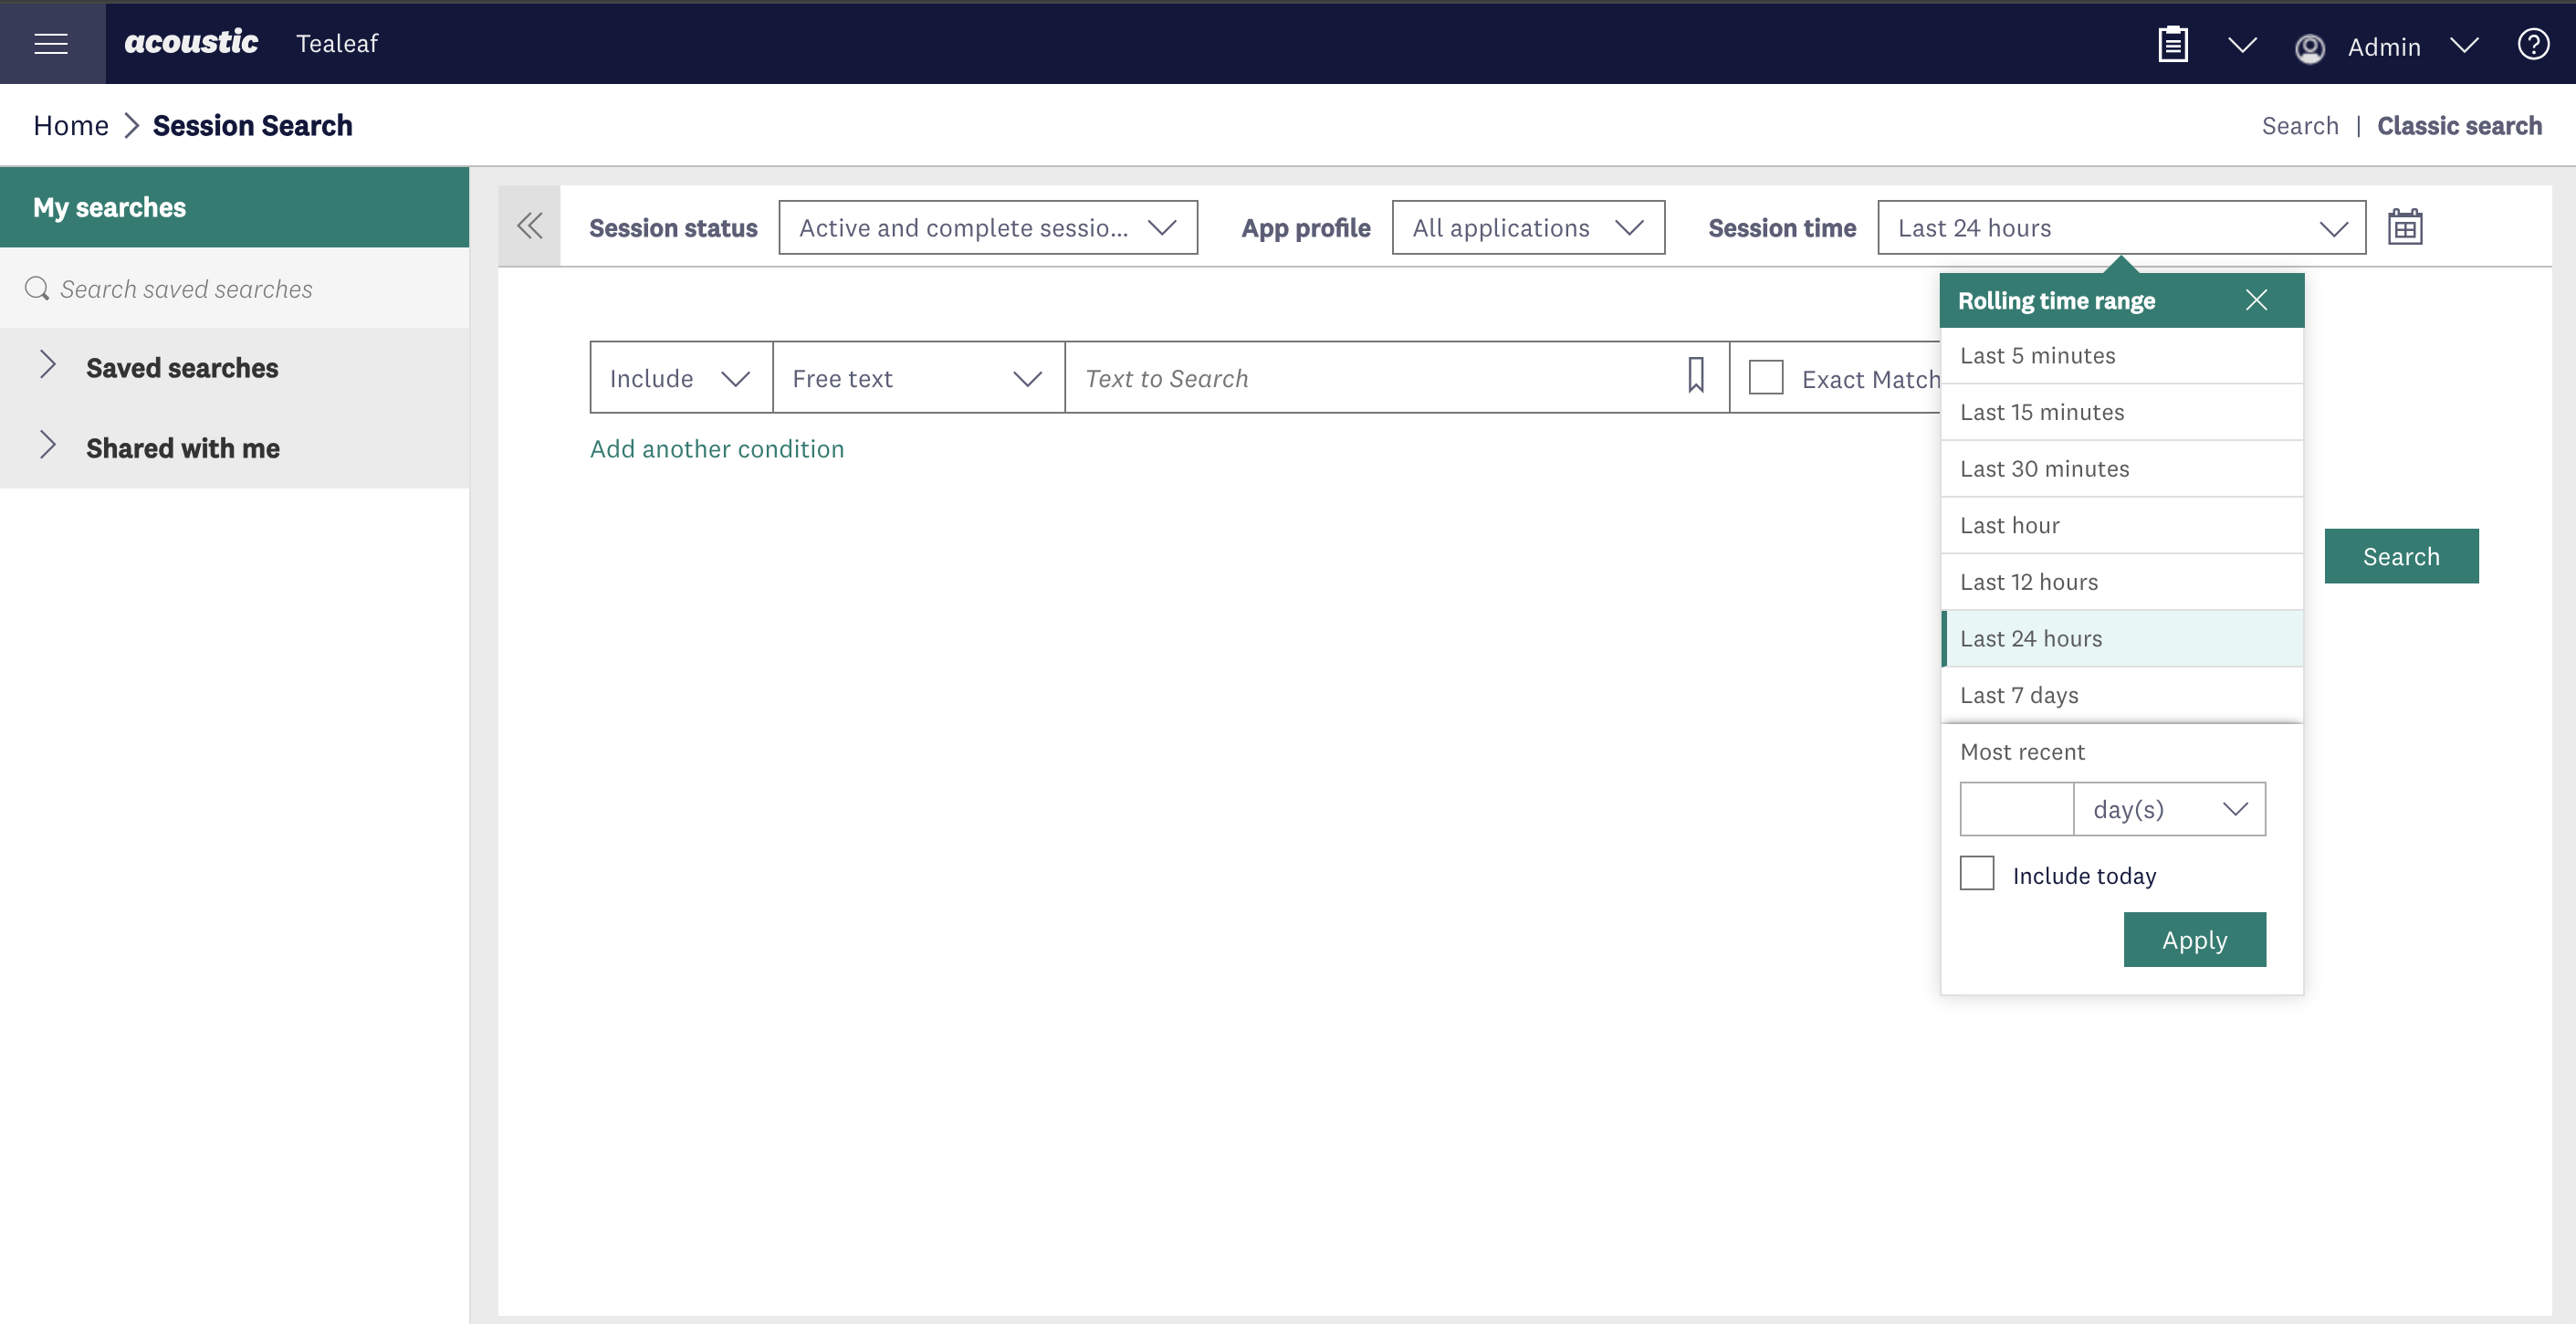
Run the app and click around. In your Tealeaf account, go to Session Search and find your user session. Play it back to make sure all Views have been captured correctly.
If you notice any issues, consider customizing the default configuration yourself or getting help from our Professional Services team.
Further steps
The next step before using the library in production is to enable privacy protection. For instructions, see How-tos with Sample Code for Android.
Updated 3 months ago
Did this page help you?