
Add the Notification Service Framework to a native iOS project
The AcousticMobilePushNotification.xcframework enables support for media attachments (images, audio and video) as well as Acoustic dynamic action categories. Additionally, it automatically tracks push notification delivery by generating pushReceived events whenever a notification arrives on a device.
The Notification Service Extension functions as a second app within your overall app bundle and requires separate provisioning. When properly configured, the Extension allows the Acoustic SDK to detect incoming push notifications and send delivery analytics to Acoustic servers, regardless of whether the user interacts with the notification.
This article guides you through adding the Notification Service Extension to your iOS project, configuring it for either JSON-based or dictionary-based configuration and understanding how pushReceived events work across different app states.
ImportantThe notification service target must be compatible with the version of the Acoustic SDK you are using. So if you have a beta version of the SDK and want to switch to the stable version or visa versa, make sure you unlink the current target first and then add a new one.
Step A: Add a notification service target
-
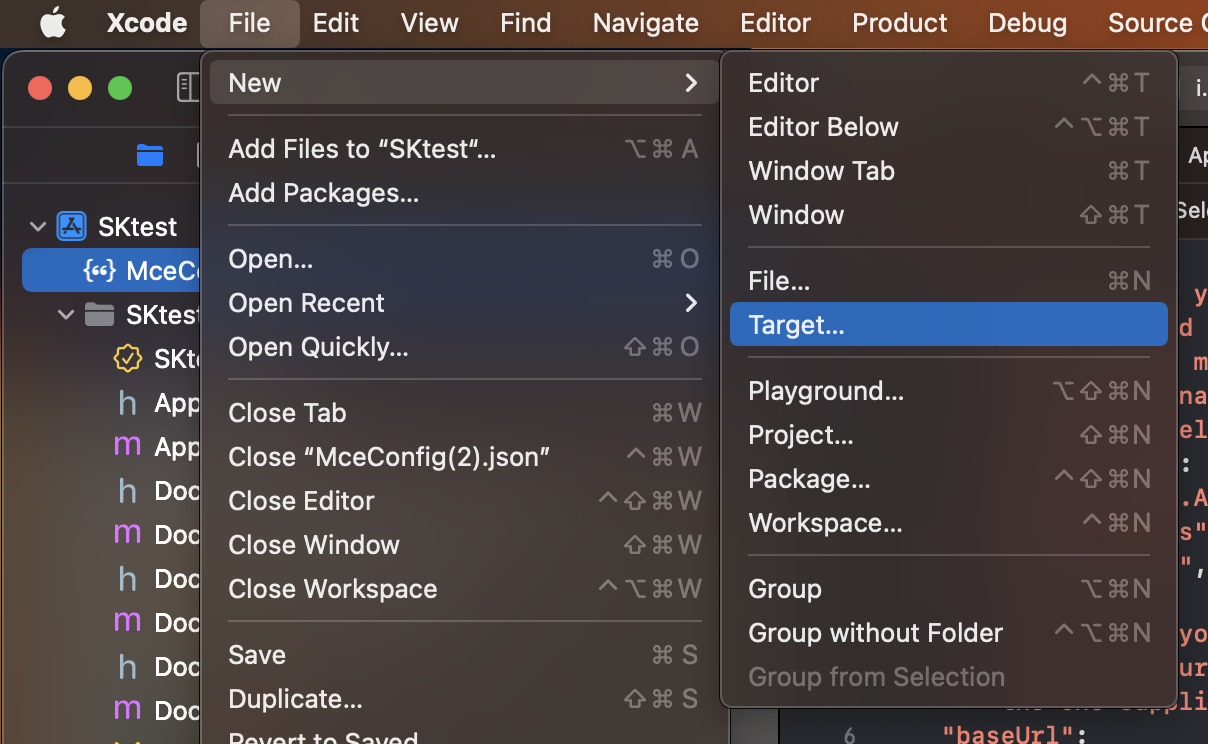
In your Xcode project, go to the File menu and select New > Target.
-
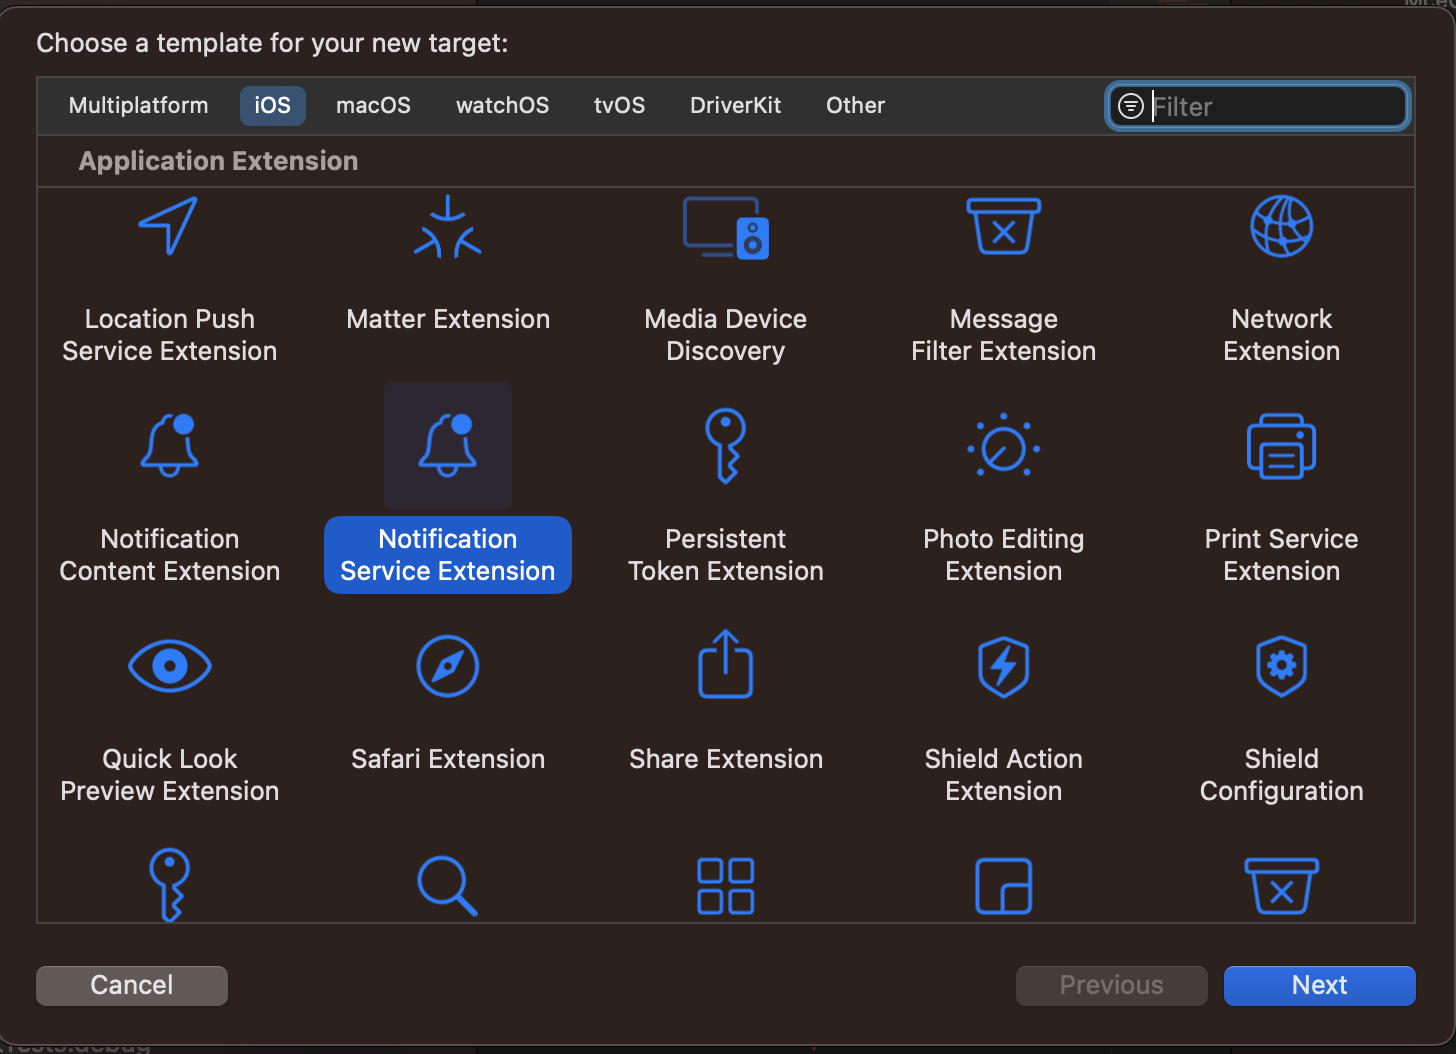
Under iOS, select Notification Service Extension.
-
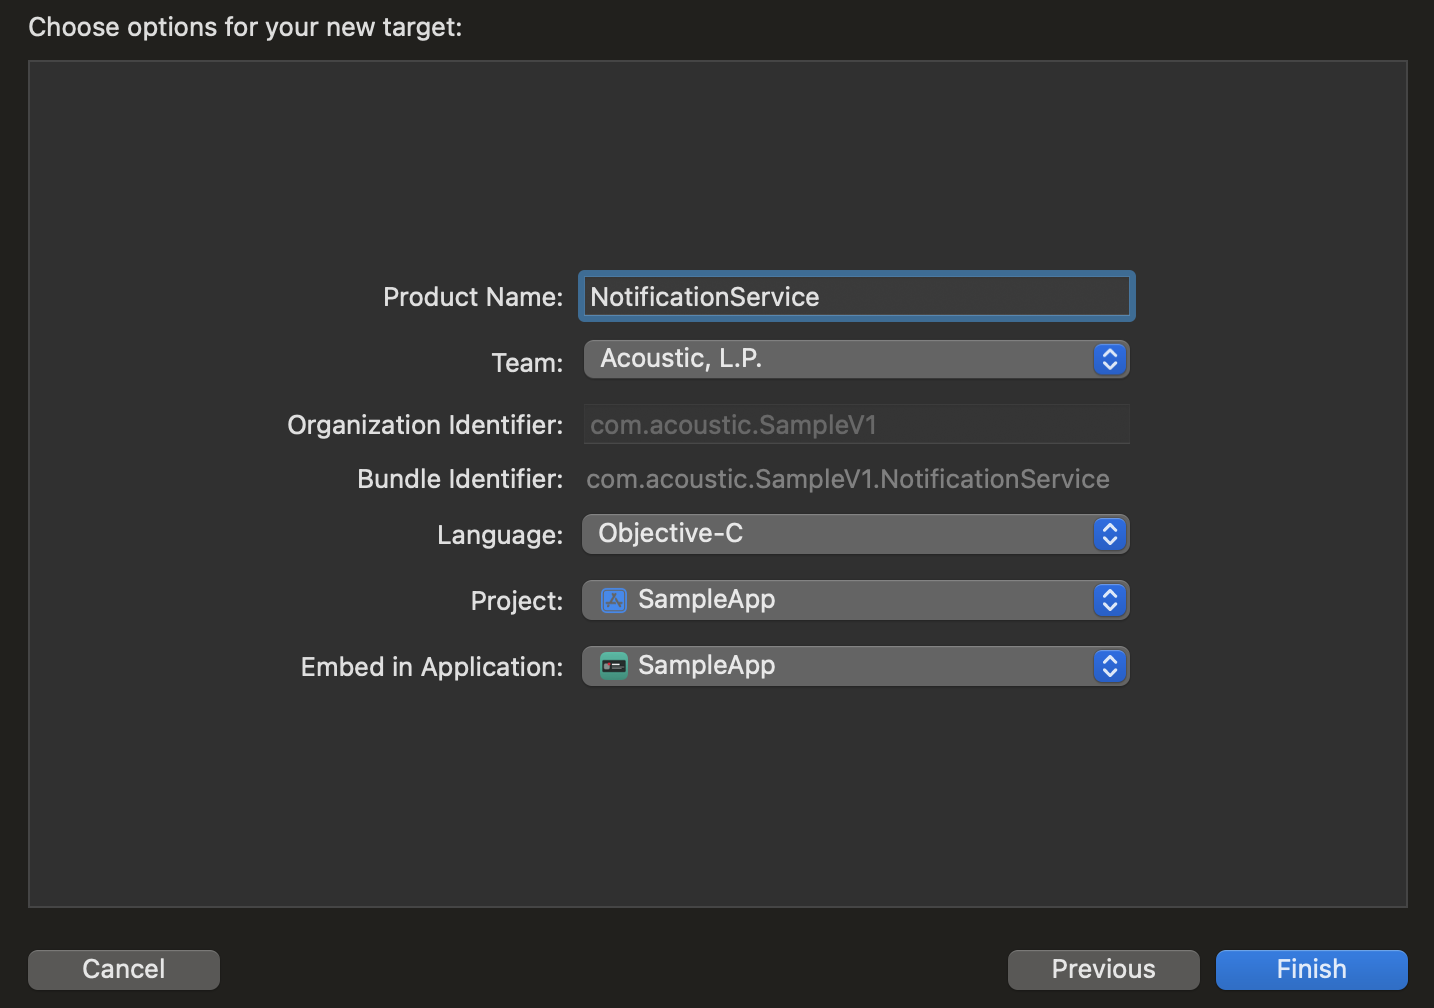
In the Language list, select Objective-C. Fill out the remaining settings as appropriate.
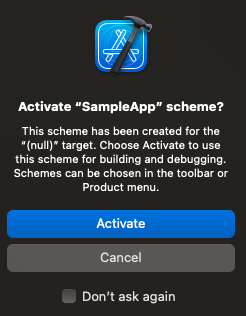
- If a confirmation message appears, click Activate.
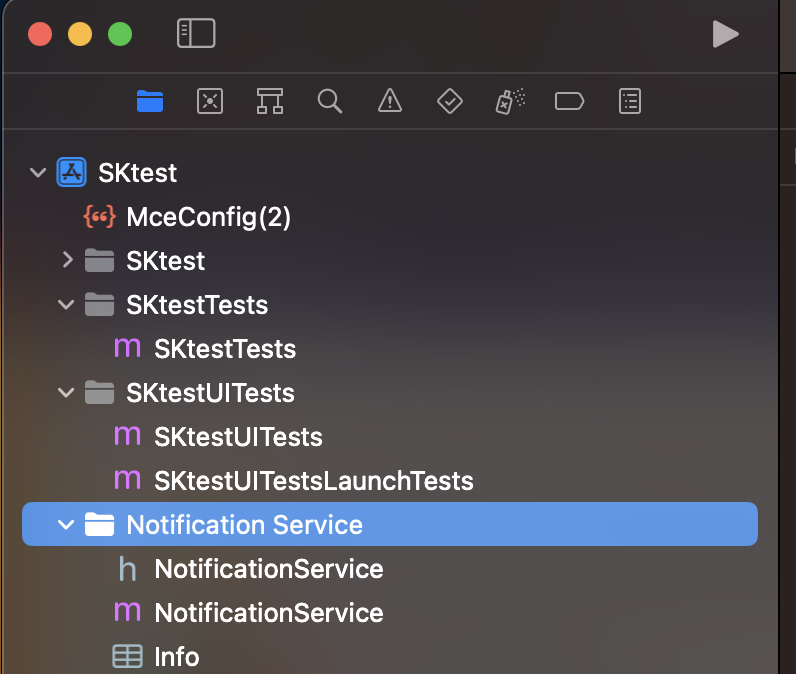
- Find a new target in your Xcode project.
Step B: Add the Acoustic notification framework to the target
-
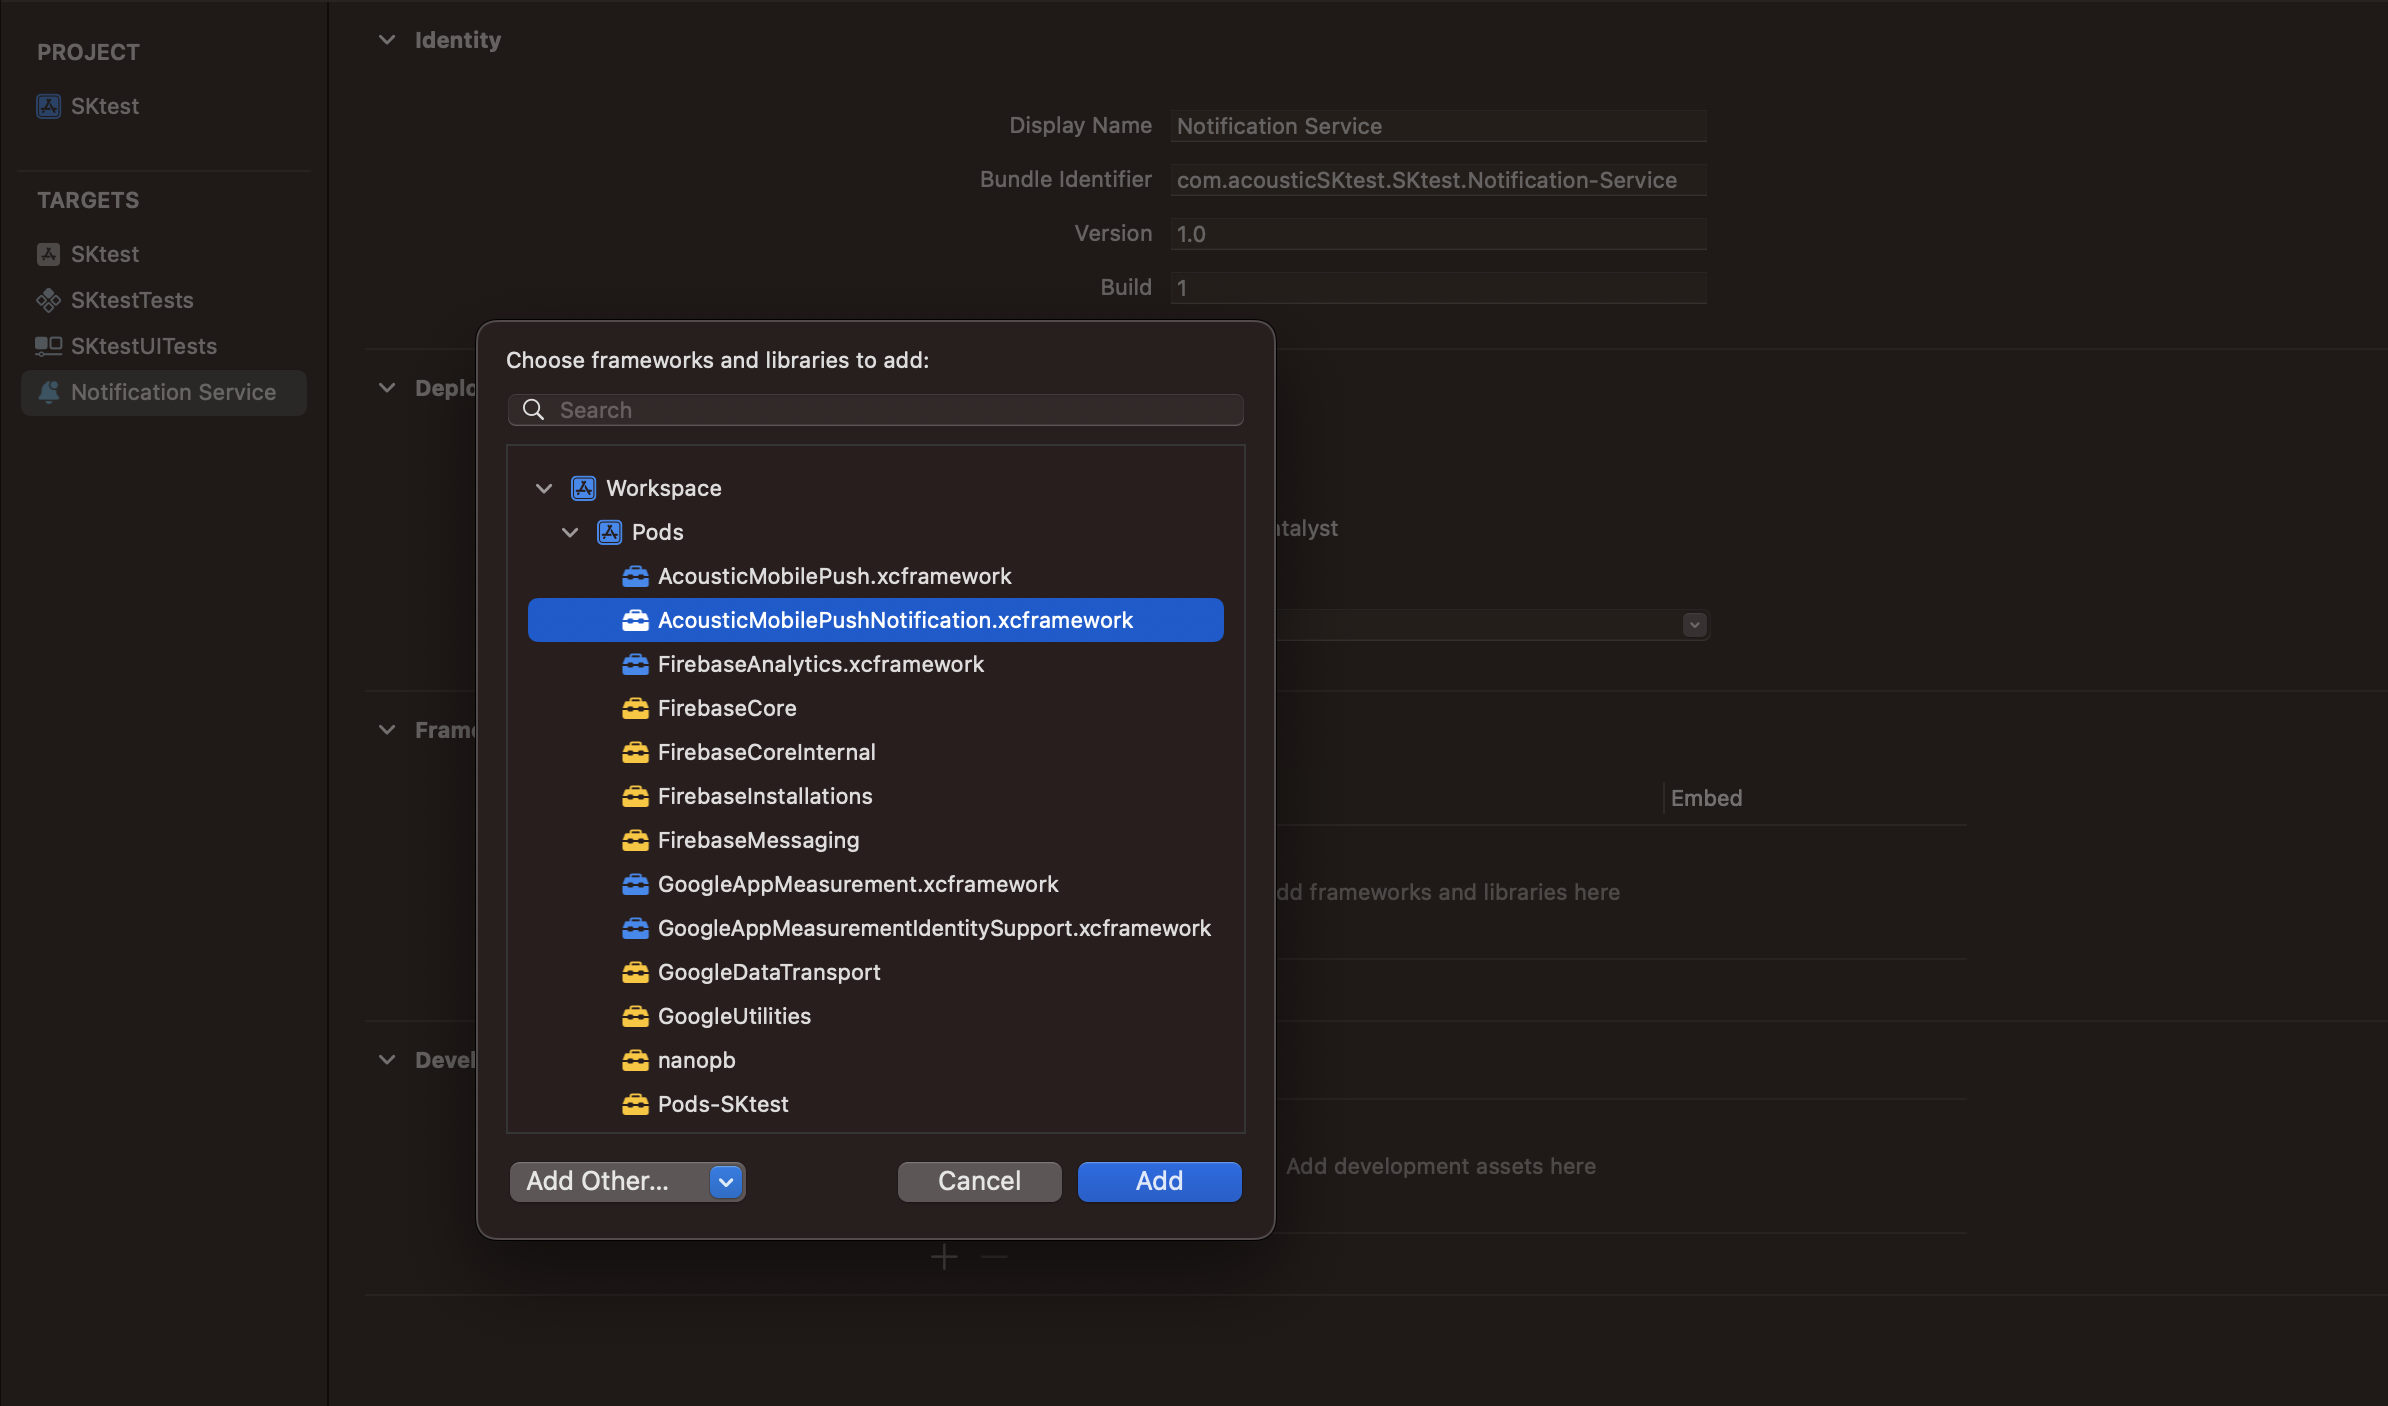
Select the Notification Service target and open the General tab.
-
In the Signing section, select the same team the main project target belongs to and configure the bundle ID. A typical pattern for the bundle ID is
com.company.app.notificationif your app bundle ID iscom.company.app. -
In the Frameworks and Libraries section, add AcousticMobilePushNotification.xcframework.
-
On the Build Settings tab, expand the Linking section. Add
-ObjCto the Other Linker Flags build options for the Notification Service.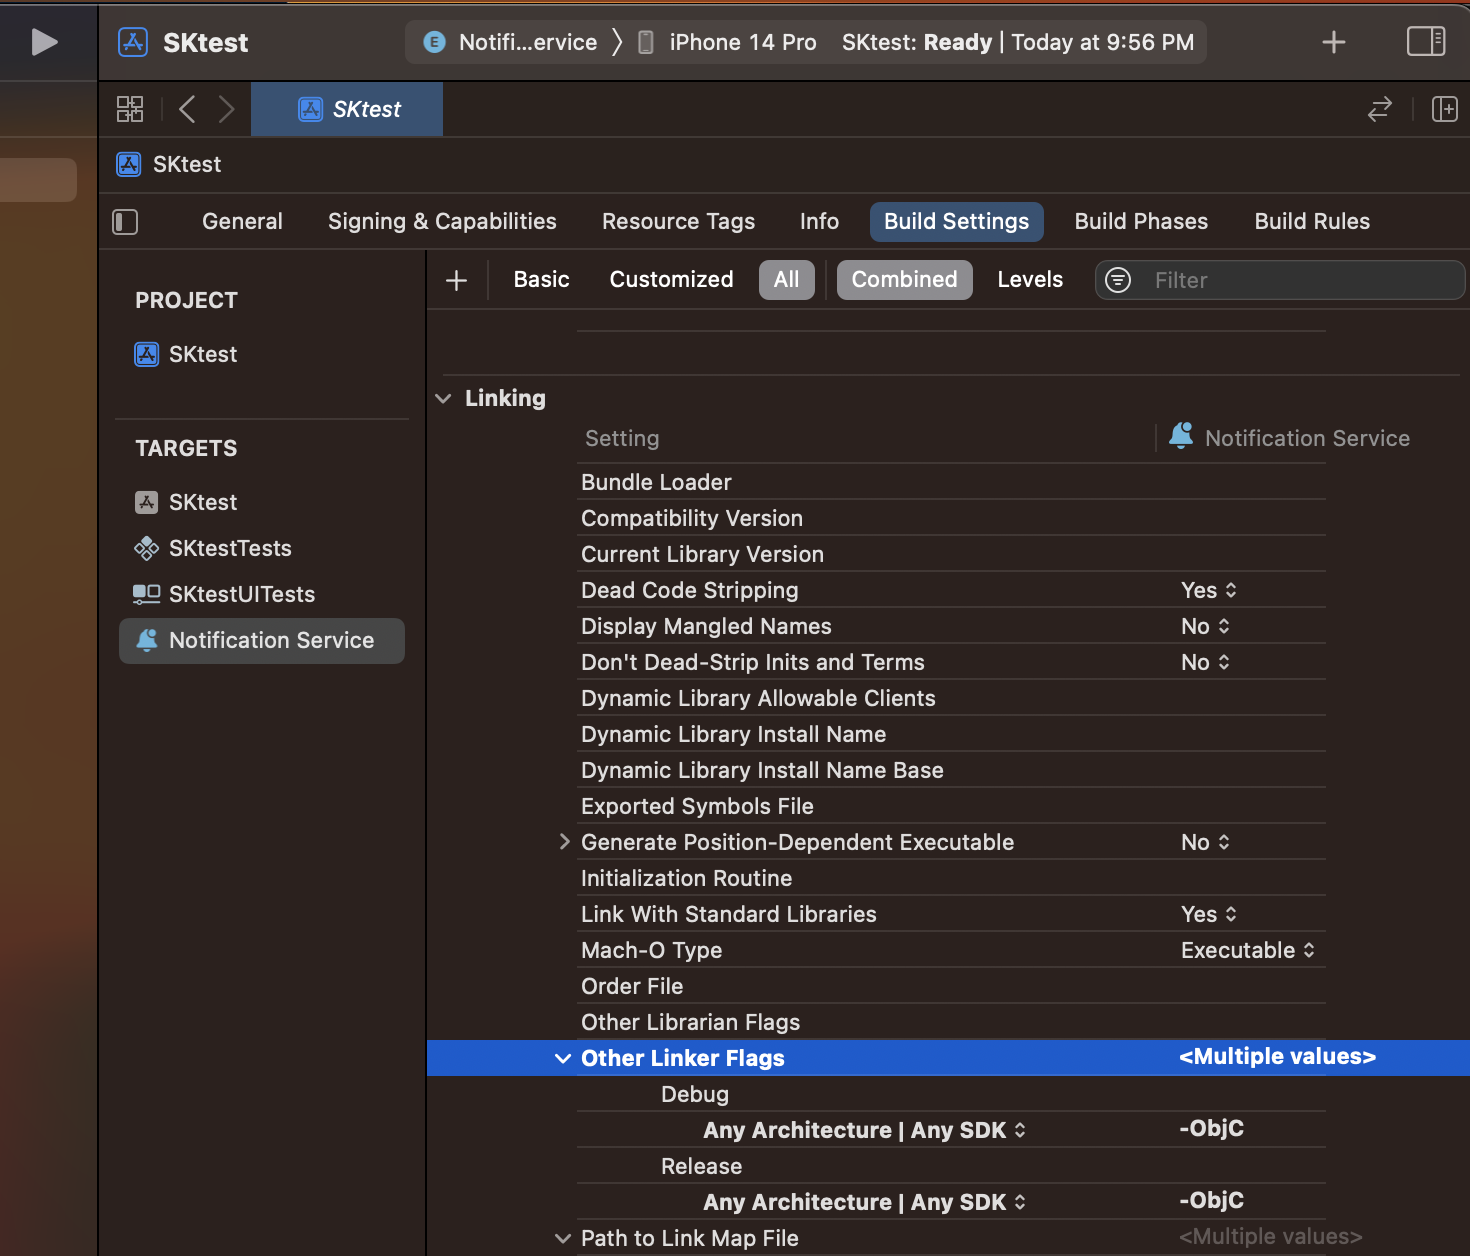
-
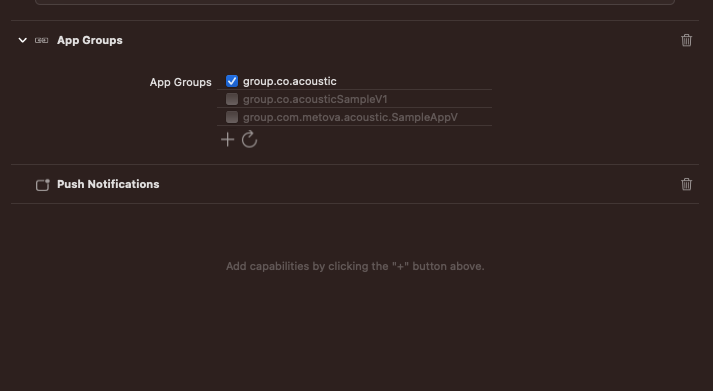
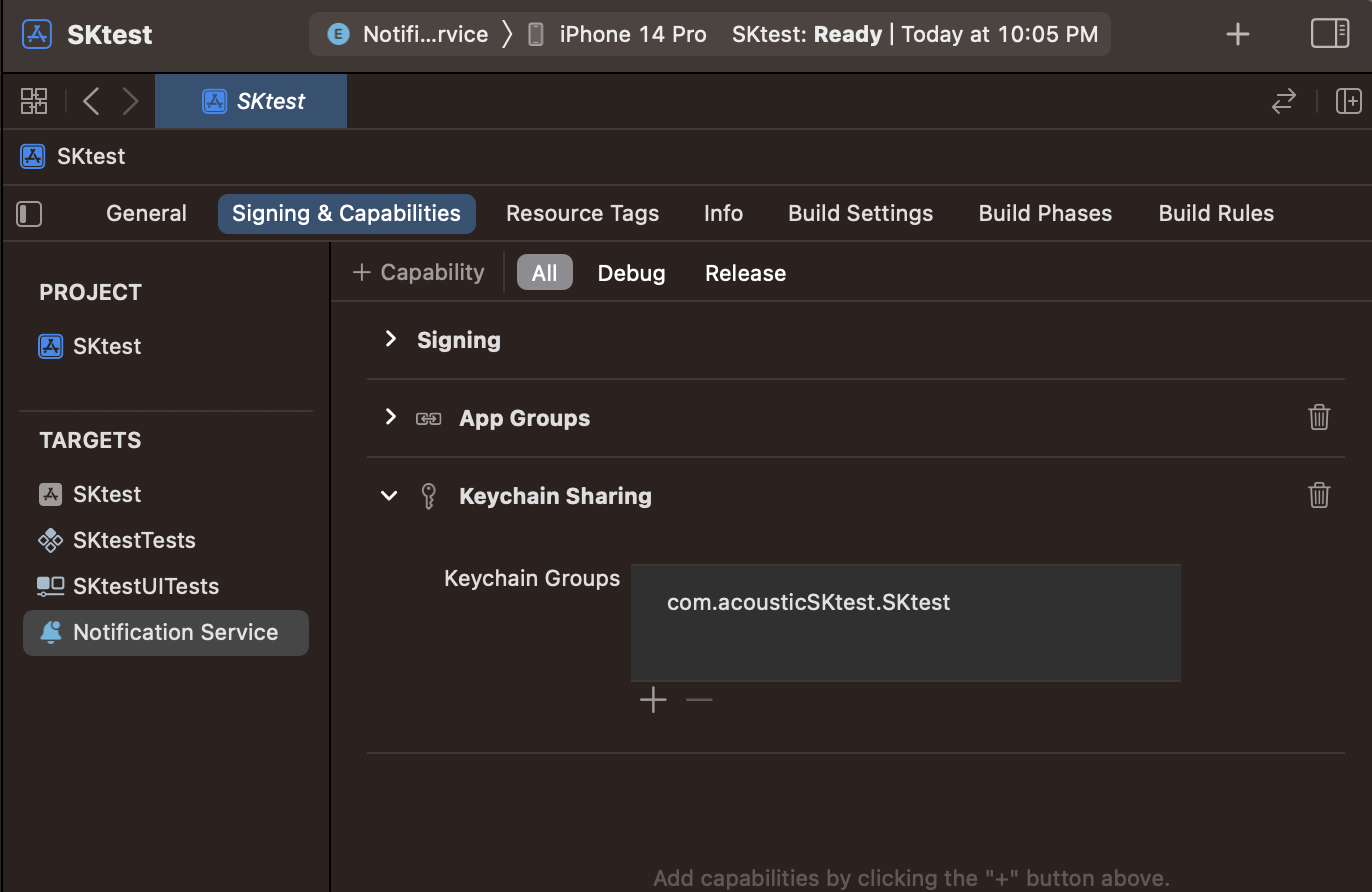
On the Signing & Capabilities tab, add the App Group capability. Enable the same app group that the main application target uses.
-
On the same tab, add the Keychain Sharing capability. Add the same value for the keychain group that the main application target uses.
To add media attachments to notifications, you must configure the mutable-content flag and media-attachment key in the iOS 10 payload. For more information, refer to the following articles:
Step C: Implementing the framework
Automatic implementation
In the NotificationService.h file, replace the contents with the following.
#import <UserNotifications/UserNotifications.h>
#import <AcousticMobilePushNotification/AcousticMobilePushNotification.h>

@interface NotificationService : MCENotificationService

@end
In the NotificationService file, replace the contents with the following.
import UserNotifications
import AcousticMobilePushNotification

class NotificationService: MCENotificationService {
}
Manual implementation
Objective-C projects with JSON-based configuration
If your project relies on JSON-based configuration, you must simply initialize the MCENotificationService without explicit config loading. The SDK will automatically read from the MceConfig.json file. This version doesn't need to import MCEManualConfiguration.h.
- In the NotificationService.h file, replace the contents with the following.
@import UserNotifications;
@import AcousticMobilePushNotification;
@interface NotificationService : UNNotificationServiceExtension
@property MCENotificationService * notificationService;
@end
- In the NotificationService.m file, replace the contents with the following.
@interface NotificationService ()
@property (nonatomic, strong) void (^contentHandler)(UNNotificationContent *contentToDeliver);
@property (nonatomic, strong) UNMutableNotificationContent *bestAttemptContent;
@end
@implementation NotificationService
-(instancetype)init {
if(self = [super init]) {
// JSON file-based configuration (uses MceConfig.json)
self.notificationService = [[MCENotificationService alloc] init];
}
return self;
}
- (void)didReceiveNotificationRequest:(UNNotificationRequest *)request withContentHandler:(void (^)(UNNotificationContent * _Nonnull))contentHandler {
if(request.content.userInfo[@"notification-action"])
{
[self.notificationService didReceiveNotificationRequest:request withContentHandler:contentHandler];
return;
}
}
- (void)serviceExtensionTimeWillExpire {
// Called just before the extension will be terminated by the system.
// Use this as an opportunity to deliver your "best attempt" at modified content, otherwise the original push payload will be used.
[self.notificationService serviceExtensionTimeWillExpire];
}
@end
Objective-C projects with dictionary-based configuration
If your project relies on dictionary-based configuration, you must call MCEConfig sharedInstanceWithDictionary:MCEManualConfiguration.xmlSettings to initialize the SDK before creating the notification service. This approach requires importing the MCEManualConfiguration.h file.
- In the NotificationService.h file, replace the contents with the following.
@import UserNotifications;
@import AcousticMobilePushNotification;
@interface NotificationService : UNNotificationServiceExtension
@property MCENotificationService * notificationService;
@end
- In the NotificationService.m file, replace the contents with the following.
@interface NotificationService ()
@property (nonatomic, strong) void (^contentHandler)(UNNotificationContent *contentToDeliver);
@property (nonatomic, strong) UNMutableNotificationContent *bestAttemptContent;
@end
@implementation NotificationService
-(instancetype)init {
if(self = [super init]) {
// Dictionary-based configuration
[MCEConfig sharedInstanceWithDictionary:MCEManualConfiguration.xmlSettings];
self.notificationService = [[MCENotificationService alloc] init];
}
return self;
}
- (void)didReceiveNotificationRequest:(UNNotificationRequest *)request withContentHandler:(void (^)(UNNotificationContent * _Nonnull))contentHandler {
if(request.content.userInfo[@"notification-action"])
{
[self.notificationService didReceiveNotificationRequest:request withContentHandler:contentHandler];
return;
}
}
- (void)serviceExtensionTimeWillExpire {
// Called just before the extension will be terminated by the system.
// Use this as an opportunity to deliver your "best attempt" at modified content, otherwise the original push payload will be used.
[self.notificationService serviceExtensionTimeWillExpire];
}
@end
Swift projects with JSON-based configuration
If you are using MceConfig.json for configuration, the Campaign library will automatically read from this file in your project bundle. Follow these steps to complete the implementation:
- Add MceConfig.json to the Notification Service target. You can verify the membership in File Inspector > Target Membership.
- Replace the contents of NotificationService.swift with the following:
import UserNotifications
import AcousticMobilePush
import AcousticMobilePushNotification

class NotificationService: UNNotificationServiceExtension {
    let mobilePushNotificationService: MCENotificationService

    override init() {
        // JSON file-based configuration (uses MceConfig.json)
        mobilePushNotificationService = MCENotificationService()
        super.init()
    }

    override func didReceive(_ request: UNNotificationRequest, withContentHandler contentHandler: @escaping (UNNotificationContent) -> Void) {
        if request.content.userInfo["notification-action"] != nil {
            mobilePushNotificationService.didReceive(request, withContentHandler: contentHandler)
            return
        }

        // Handle other notifications here
    }

    override func serviceExtensionTimeWillExpire() {
        mobilePushNotificationService.serviceExtensionTimeWillExpire()
    }
}
Swift projects with dictionary-based configuration
If your project relies on dictionary-based configuration, you must call MCEConfig.sharedInstance(with: Config.mobilePushConfig) to initialize the Acoustic SDK before creating the notification service. In that case, replace the contents of NotificationService.swift with the following:
import UserNotifications
import AcousticMobilePush
import AcousticMobilePushNotification

class NotificationService: UNNotificationServiceExtension {
    let mobilePushNotificationService: MCENotificationService

    override init() {
        // Dictionary-based configuration
        MCEConfig.sharedInstance(with: Config.mobilePushConfig)
        mobilePushNotificationService = MCENotificationService()
        super.init()
    }

    override func didReceive(_ request: UNNotificationRequest, withContentHandler contentHandler: @escaping (UNNotificationContent) -> Void) {
        if request.content.userInfo["notification-action"] != nil {
            mobilePushNotificationService.didReceive(request, withContentHandler: contentHandler)
            return
        }

        // Handle other notifications here
    }

    override func serviceExtensionTimeWillExpire() {
        mobilePushNotificationService.serviceExtensionTimeWillExpire()
    }
}
Understanding "push received" events
What is a "Push received" event?
When an iOS push notification arrives on a device, the Acoustic SDK automatically:
- Detects the push notification arrival.
- Generates a
pushReceivedevent. - Sets the event state to displayed (meaning it successfully arrived).
- Sends this event to the Acoustic server.
This happens regardless of whether the user interacts with the notification.
Detailed behavior by app state
If the Notification Service Extension to be properly configured, it behaves in the following way.
Foreground (app active)
- User is currently using the app.
- Push notification arrives.
pushReceivedevent is sent immediately.- Event is logged in Xcode console for debugging.
Background (app inactive)
- App is running but user switched to another app.
- Push notification arrives.
pushReceivedevent is generated and sent to server.- No Xcode console logging (this is normal behavior for background states).
Killed (app not running)
- App was force-quit or hasn't been launched.
- Push notification arrives on device.
pushReceivedevent is still generated withstate = displayed.- Event is sent to Acoustic server.
User interaction flow
When a user taps on a notification action (like "Open URL" or "Open App"), iOS always brings the app to the foreground first and then executes the requested action.
Example: User taps a notification with "Open URL" action while app is in background:
- App comes to foreground
- Browser opens with the URL
Troubleshooting "Push received" events
If pushReceived events are not appearing in your analytics, check the following solutions.
For dictionary-based configurations:
- Verify
MCEConfig.sharedInstance(with:)is called in theinit()method. - Confirm you're calling it with the correct configuration dictionary.
- Check that the Notification Service Extension is properly configured.
For JSON-based configurations:
- Confirm MceConfig.json is added to the Notification Service Extension target.
- Verify target membership in Xcode File Inspector.
- Check that the JSON file contains valid configuration.
For all configurations:
- Review push notification states in the Mobile Metrics documentation.
- Check device logs for any SDK errors.
- Verify push notifications are arriving on the device.
- Confirm your app has proper push notification permissions.
Updated 3 months ago