Configure Android notification preferences for native and hybrid Android apps
You can change the following notification preferences:
- notification channel
- sound (
setSound) - vibration (
setVibrationPattern,setVibrateEnabled) - icons (
setLargeIcon,setIconColor) - light (
setLights,setLightsEnabled) - flags (
addFlags)
Setting notification channels
To set a notification channel, call the following method in the NotificationsPreference API:
public void setNotificationChannelId(Context context, String channelId)
In the example above, channelId is one of the application's notification channels.
Note
When you use notification channels in Android O, the following notification preferences can be overridden by the channel: priority, sound, light and vibration.
Enabling and changing sound notifications
To play a sound for your mobile app messages, you must modify the NotificationsPreference class.
-
To enable sound for notifications, call the following static method from the NotificationsPreference class:
NotificationsPreference.setSoundEnabled(context, true); -
To change the notifications sound, first add your sound file to /res/raw/ folder in your project, and then call the static method NotificationsPreference.setSound(context,soundResourceID).
For example:
NotificationsPreference.setSound(context, R.raw.notification_sound)
Remember: If you enabled sound but did not set a custom sound, the system default sound is used.
Enabling and changing vibration notifications
To enable or change vibrations for your mobile app messages, you must modify AndroidManifest.xml and the NotificationsPreference class.
-
To enable vibration for notifications, add the following permission to your AndroidManifest.xml file:
-
Then, call the following static method from the NotificationsPreference class:
NotificationsPreference.setVibrateEnabled(context, true); -
To change the notifications vibration pattern, call the static method
NotificationsPreference.setVibrationPattern(context,vibrationPattern)
long [] vibrate = {0,100,200,300};
    NotificationsPreference.setVibrationPattern(context,vibrate);
Remember: If you enabled vibration but you did not set a custom vibration pattern, the system default vibration pattern is used.
Customizing notifications icons
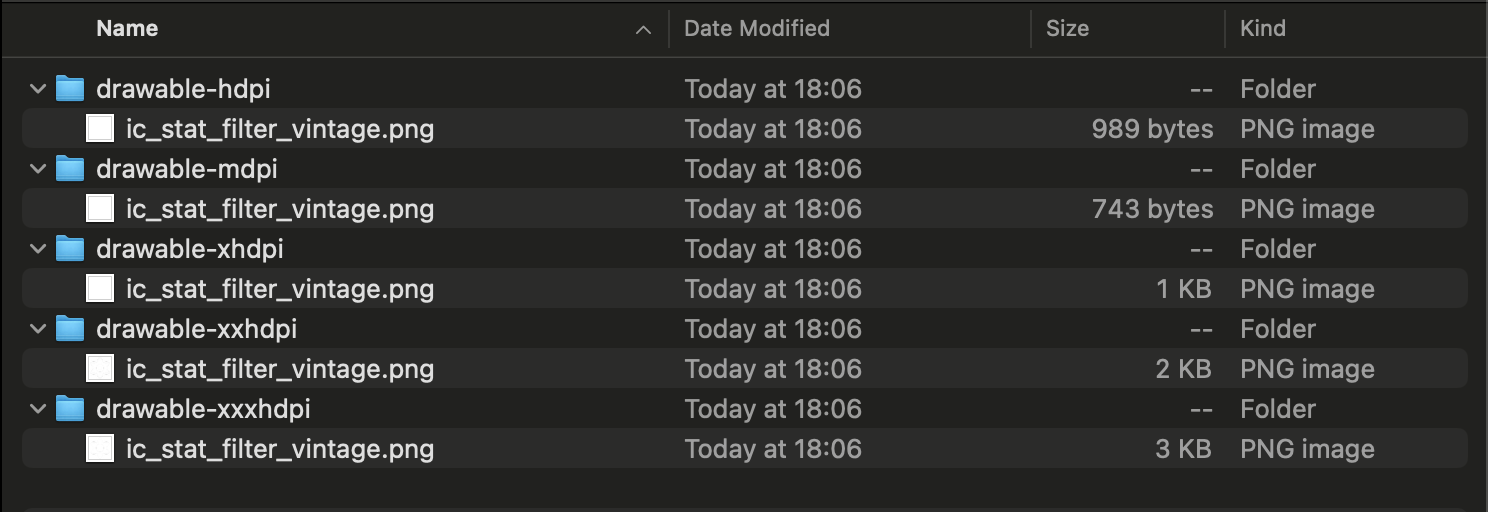
To customize the notification icon, you must prepare image assets and place them to the res directory in your project. If you don't have the assets yet, consider using Notification icon generator in Android Asset Studio. It creates a custom notification icon for your app and generates several versions of the icon that are compatible with all Android devices and versions.

To change a small notification icon in a native Android app, call the setIcon method in NotificationPreferences with the context and resource ID. For example:
MceSdk.getNotificationsClient().getNotificationsPreference().setIcon(
  getApplicationContext(), (iconId));
Note
The default notification icon is android.R.drawable.sym_def_app_icon.
To use a large notification icon, set the setLargeIcon method in the NotificationPreferences class. For example:
MceSdk.getNotificationsClient().getNotificationsPreference().setLargeIcon(
  getApplicationContext(), (largeIconId));
To apply color to your small notification icon, set the setIconColor method in the NotificationPreferences class. For example:
MceSdk.getNotificationsClient().getNotificationsPreference().setIconColor(getApplicationContext(), {
  color
});
In Cordova Android apps, small notification icons are usually provided by default. You can change or update these icons using the following method:
MCEPlugin.setIcon('logo');
In the example above, 'logo' is the image file logo.png from your Android drawable resources.
To customize the notification icon in a React Native Android app, place the image assets to android/app/src/main/res/assets/res/drawable. After that, call the API.
import { NativeModules } from 'react-native';
const { RNAcousticMobilePush } = NativeModules;

RNAcousticMobilePush.setIcon('drawableName');
In the example above, drawableName must be replaced with the name of the image file.
Enabling and changing light notifications
To enable or change light notifications for your mobile app messages, you must modify the NotificationsPreference class.
-
To enable notifications lights, call the following static method from the NotificationsPreference class.
NotificationsPreference.setLightsEnabled(context, true); -
To change the notifications lights preferences, call the static method NotificationsPreference.setLights(getApplicationContext(), new int[] { ledARGB , ledOnMS , ledOffMS });.
For example:
int ledARGB = 0x00a2ff;
        int ledOnMS = 300;
        int ledOffMS = 1000:
        NotificationsPreference.setLights(getApplicationContext(), new int[] { ledARGB, ledOnMS, ledOffMS });
Important: If you pass null to any of the setter methods in the NotificationsPreference, the preference resets, and the default value is applied for new notifications.
Enabling and changing flag notifications
To enable or change flag notifications for your mobile app messages, you must modify the NotificationsPreference class.
- To add notification flags for notifications, call the static method NotificationsPreference.addFlags(context, NOTIFICATION_FLAG_1 | NOTIFICATION_FLAG_2);.
For example:
NotificationsPreference.addFlags(context, Intent.FLAG_ACTIVITY_SINGLE_TOP);
Note: The default notifications flags are FLAG_ACTIVITY_NEW_TASK and FLAG_ACTIVITY_CLEAR_TOP.
All the flags are combined with FLAG_ACTIVITY_NEW_TASK.
Note
For more information about flags, see the FLAG_ACTIVITY_NEW_TASK section in the Android Developer guide.
Updated over 1 year ago
